

Key Takeaways
- Most common household repairs cost very little and require no specialist skills or tools.
- Addressing small problems early prevents them from becoming expensive, structural issues later.
- Knowing which repairs are safe to DIY — and which need a licensed professional — is essential.
- A modest basic toolkit covers the majority of everyday home maintenance tasks.
- Budget constraints are rarely a reason to defer repairs that protect your home's safety.
Small Repairs, Big Impact
When money is tight, home repairs can feel like an impossible priority. But deferred maintenance almost always costs more in the long run — a ignored dripping faucet wastes water and strains pipes; a small crack in caulking around a window can let in moisture that leads to rot. The good news is that a surprising number of repairs fall within reach of any homeowner willing to spend a little time and a few dollars.
This list focuses exclusively on repairs that are genuinely safe for non-specialists — tasks that don't involve electrical panels, gas lines, structural work, or anything typically requiring a permit. For a clear breakdown of where the DIY line actually falls, see our guide on when to call a tradesperson. And if you want to set yourself up for success before you start, understanding your basic toolkit is a smart first step.
Start with a Home Walk-Through
Before diving into repairs, spend 20 minutes walking through your home with a notepad. Check caulk lines, test faucets, open and close every door, and look under sinks. A quick survey often reveals small problems you'd otherwise overlook until they become larger ones. Prioritize anything involving water first, as moisture damage tends to compound quickly.
Work through this list with an eye for what your home actually needs right now. Pairing it with a seasonal lens — as covered in our seasonal maintenance on a tight budget guide — helps you prioritize effectively.
Patch Small Holes in Drywall
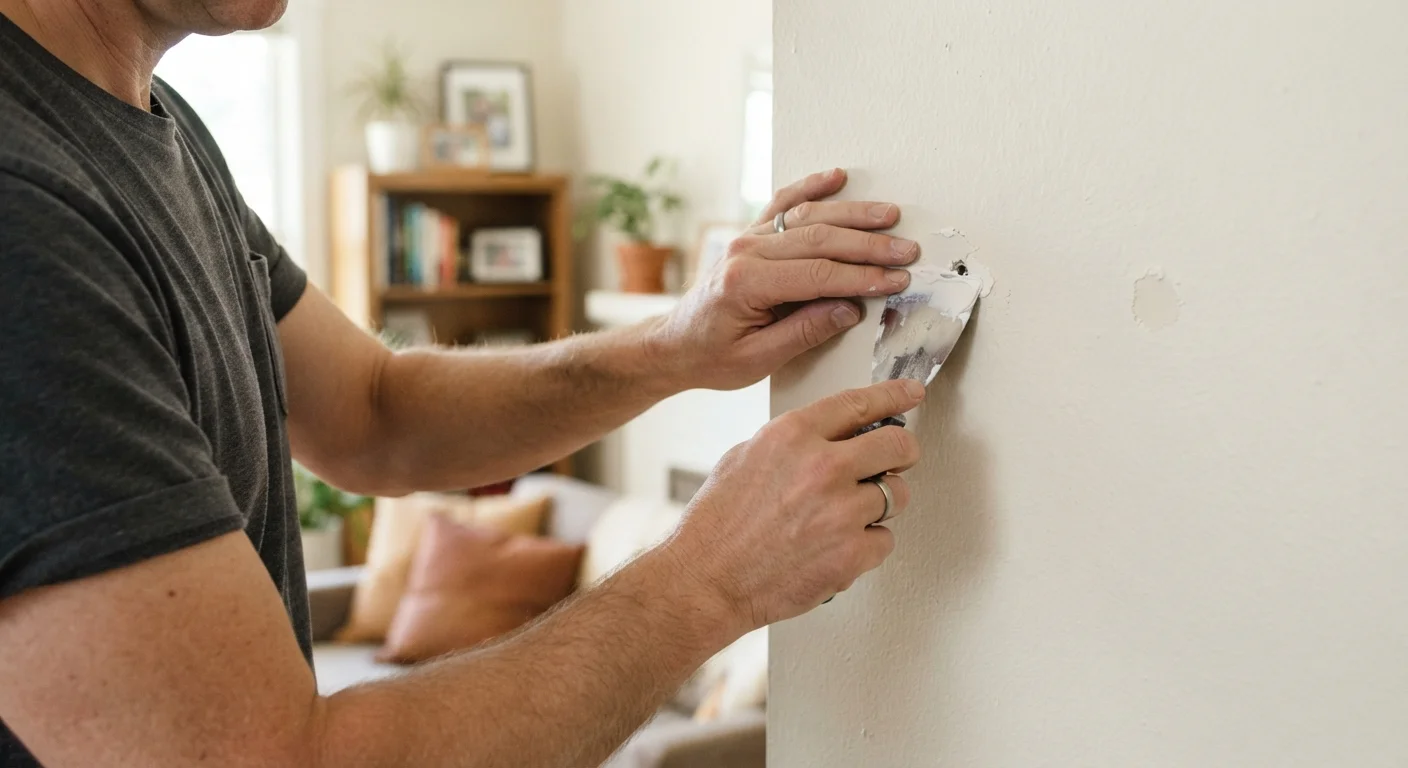
Nail holes, small dings, and minor dents in drywall are among the easiest repairs a homeowner can make. A small container of lightweight spackling compound and a putty knife are all you need for holes up to about half an inch. For slightly larger holes — up to around three or four inches — a self-adhesive mesh patch combined with joint compound works well.
Apply the compound in thin layers, allowing each to dry fully before adding the next. Sand lightly when dry, then prime before painting so the repair blends with the surrounding wall. Skipping the primer is one of the most common mistakes that leaves a visible patch — take the extra step.
Thin layers and proper priming are what separate a seamless patch from a visible one.
Re-caulk Around Tubs, Sinks, and Windows
Old or cracked caulk is one of the most common entry points for moisture in a home. Re-caulking is inexpensive, takes about an hour per area, and genuinely prevents water damage behind walls and around window frames.
Remove all existing caulk with a plastic scraper or caulk removal tool before applying new material — new caulk applied over old caulk won't adhere properly. Use a silicone or siliconized latex caulk rated for bathroom or exterior use depending on the location. Cut the tube nozzle at a shallow angle, apply a steady bead, and smooth it with a wet finger or caulk tool. Allow it to cure fully — typically 24 hours — before exposing it to water.
New caulk applied over old caulk won't adhere — always remove the old material first.
Fix a Running Toilet
A toilet that runs continuously wastes a significant amount of water and adds to your utility bill every month. In the majority of cases, the cause is a worn flapper — the rubber seal at the bottom of the tank that controls water flow into the bowl. Replacement flappers are inexpensive and widely available at hardware stores.
Turn off the supply valve behind the toilet, flush to empty the tank, unhook the old flapper, and snap the new one onto the overflow tube. Turn the water back on and test. If the toilet still runs after replacing the flapper, the fill valve may need replacing — a slightly more involved but still manageable DIY repair that requires only basic tools and no plumbing experience beyond what's described in the product instructions.
A worn flapper is the most common cause of a running toilet and costs only a few dollars to replace.
Seal Drafty Doors and Windows with Weatherstripping
Gaps around doors and windows allow conditioned air to escape and outdoor air to enter, making your heating and cooling systems work harder. Weatherstripping is one of the highest-value, lowest-cost repairs available to homeowners — and it requires no tools beyond scissors and, in some cases, a utility knife.
Foam tape weatherstripping is the simplest option for door frames and window sashes. V-strip (tension seal) weatherstripping is more durable and works well along the sides of doors. Clean the surfaces thoroughly before applying adhesive-backed products, as dust and grime prevent good adhesion. Pay particular attention to the threshold at the bottom of exterior doors — a door sweep installed there can make a noticeable difference in drafts and noise.
Weatherstripping a single drafty door takes less than 30 minutes and costs just a few dollars.
Tighten Loose Hinges and Cabinet Hardware
Loose door hinges, sagging cabinet doors, and wobbly drawer handles are minor annoyances that most homeowners overlook — but they're also quick wins that cost nothing if the screws are simply loose. Tighten all screws first with a matching screwdriver (avoid power tools here, as over-tightening strips the holes).
If screw holes have stripped and no longer grip, remove the hardware, stuff the hole with wooden toothpicks and a drop of wood glue, let it cure for several hours, then trim flush and re-drive the original screw. This inexpensive technique restores solid purchase in wood without needing to fill and re-drill. For metal cabinet hardware, a small dab of thread-locking compound on the screw threads can prevent future loosening.
Toothpicks and wood glue can restore a stripped screw hole better than most specialty fillers.
Unclog Slow Drains Without Harsh Chemicals
Slow bathroom drains are almost always caused by accumulated hair and soap buildup just below the drain cover. Before reaching for chemical drain cleaners — which can damage older pipes over time — try a plastic drain snake or hair removal tool. These inexpensive flexible tools pull out clogs mechanically in minutes.
For kitchen sinks, a common cause of slow drainage is grease buildup. Pouring very hot (not boiling) water down the drain, followed by a mixture of baking soda and white vinegar, can help loosen minor buildup. For more persistent kitchen clogs, clearing the P-trap — the curved pipe section beneath the sink — is a manageable DIY task that requires only a bucket and adjustable pliers. Always verify the water supply is off before removing any pipe sections.
A plastic drain snake removes most bathroom clogs in minutes without damaging pipes.
Keep Going — Your Home Will Thank You
None of these repairs require expert credentials, and most cost well under $20 in materials. The pattern across all of them is the same: catch problems while they're small, use the right material for the job, and don't rush. Even minor missteps can escalate costs — our article on common DIY mistakes is worth reading before you pick up a tool.
Know When to Stop and Call a Pro
The repairs on this list are designed to be safe for non-specialists. However, if any task reveals signs of mold behind walls, water damage to structural framing, or wiring near a plumbing area, stop and consult a licensed professional before continuing. Some discoveries during routine repairs point to underlying problems that genuinely require expert assessment. No DIY repair is worth compromising your home's structural integrity or your safety.
Over time, these small repairs also reduce your utility bills. Sealing drafts, fixing leaks, and maintaining weatherstripping all contribute to a more energy-efficient home — complementary strategies are explored in our piece on cutting utility costs without major upgrades.