

Key Takeaways
- Grout is rigid and belongs between tiles; caulk is flexible and belongs at joints where surfaces meet or move.
- Using grout in a flexible joint will cause cracking; using caulk between field tiles will allow dirt and mildew to accumulate.
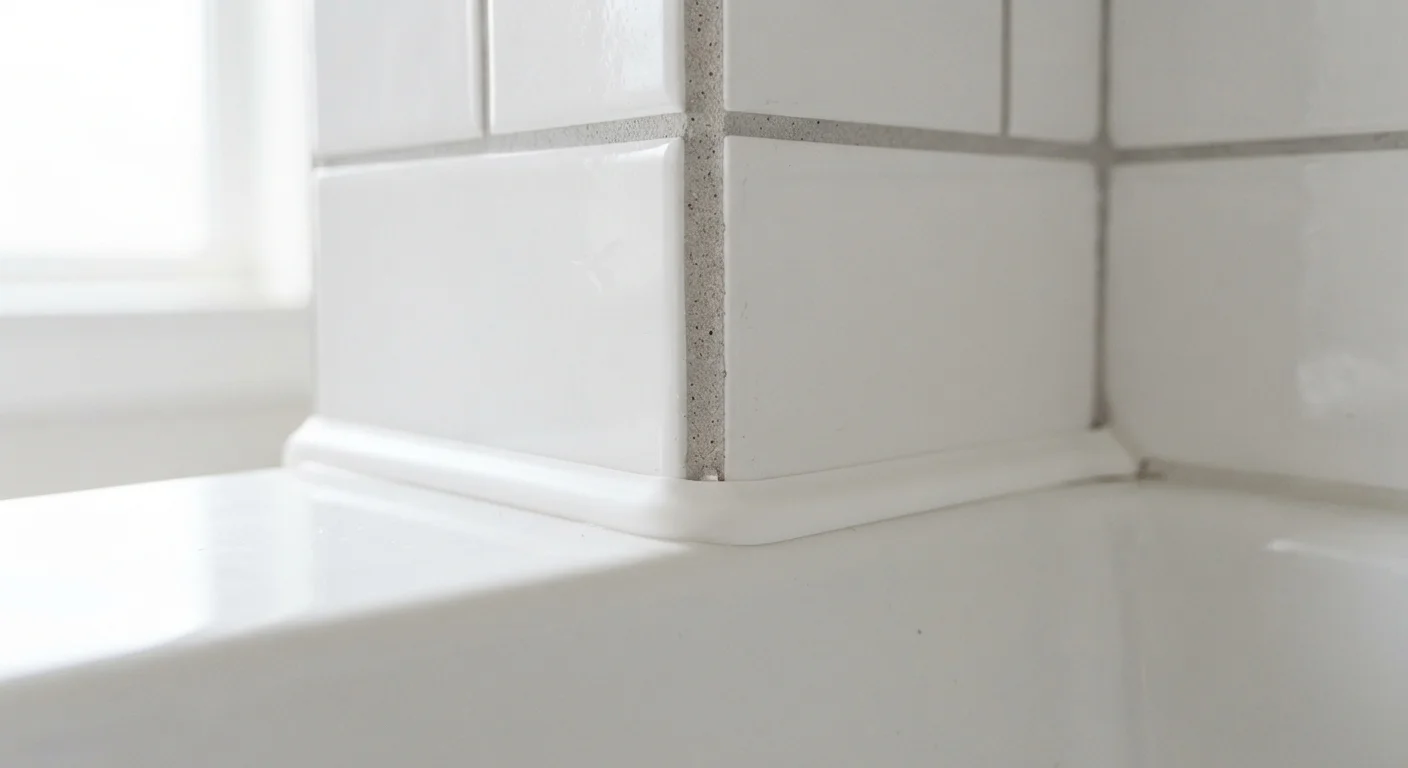
- Every inside corner in a tiled space — including where a wall meets a floor or tub — should be caulked, not grouted.
- Silicone caulk offers superior water resistance; latex (acrylic) caulk is easier to apply and paint over in dry areas.
- Always remove old, failed filler completely before applying fresh material for a lasting bond.
Option A
Grout
The rigid, gap-filling mortar built for tile fields.
Best for: Filling the uniform joints between tiles on walls, floors, and countertops where there is no structural movement.
Option B
Caulk
The flexible sealant designed for joints that move.
Best for: Sealing corners, transitions, and perimeter edges where two different surfaces meet or where slight movement occurs.
If you're filling the joints between tiles on a shower wall or kitchen backsplash
Grout
Grout is formulated to fill tile-to-tile joints consistently, resists abrasion, and maintains a uniform appearance across the tiled surface.
If you're sealing where a bathtub deck meets the surrounding tile wall
Caulk
A tub shifts slightly under the weight of water and a person; flexible caulk accommodates that movement without cracking, keeping moisture out.
If you're sealing gaps around a window frame, door trim, or baseboard
Caulk
These surfaces expand, contract, and settle over time. Caulk stretches with the movement; grout would crack and fall away quickly.
If you're repairing crumbling joints in a floor tile field away from any edges
Grout
Mid-field tile joints need the compressive strength and hardness of grout to handle foot traffic and resist wear.
If you're sealing an inside corner where two tiled walls meet in a shower
Caulk
Inside corners are natural flex points. Grout cracks here almost inevitably; a bead of mold-resistant silicone caulk is the code-aligned and practical solution.
Why the Grout vs. Caulk Distinction Really Matters
At first glance, grout and caulk both fill gaps, so it's tempting to grab whichever one is closest. That shortcut is one of the most common DIY missteps homeowners make around tile and trim. Using the wrong product in the wrong place doesn't just look off — it actively invites water damage, mold, and repeat repairs within months.
The core difference comes down to rigidity versus flexibility. Grout is a cement-based material that cures hard. Caulk is a polymer-based sealant that stays somewhat pliable after curing. Buildings move — they settle, expand in heat, and contract in cold. Any joint between two different surfaces, or any inside corner, experiences micro-movement that rigid grout simply cannot survive.
| Criterion | Grout | Caulk |
|---|---|---|
| Composition | Cement-based mortar | Silicone or latex polymer |
| Flexibility after curing | Rigid — does not flex | Pliable — absorbs movement |
| Best location | Between field tiles | Corners, perimeters, transitions |
| Water resistance | Moderate (sealable) | High (especially silicone) |
| Paintable | Yes, when sealed | Latex yes; silicone no |
| Failure mode if misused | Cracks at flex points | Traps dirt between tiles |
| Removal difficulty | Requires grout saw | Utility knife or remover tool |
Where Each Material Belongs
Grout goes between tiles. Whether it's a floor, wall, or countertop, the uniform joints running through a field of tile are grout territory. These joints are surrounded by the same material on both sides, experience similar expansion rates, and don't flex the way a perimeter or corner does. Grout provides the compressive strength these zones need and produces the consistent, finished look that tile installation requires.
Caulk goes wherever two different surfaces meet — and at every inside corner. That includes:
- The joint where a tub or shower pan meets wall tile
- Inside corners in a tiled shower (wall-to-wall and wall-to-floor)
- The perimeter of a tile floor where it meets the baseboard
- Around window and door frames, plumbing fixtures, and trim
If you're unsure about sealing around fixtures, our guide on silicone sealant misconceptions clears up several assumptions that lead to failed seals.
~70%
Shower leaks attributed to failed caulk joints
Industry estimates from tile installation professionals suggest the majority of shower water intrusion originates at unsealed or failed caulk lines rather than tile or grout failures.
1–5 yrs
Typical caulk lifespan in wet areas
Bathroom caulk in high-moisture environments generally needs inspection and likely replacement every one to five years depending on product type and application quality.
Choosing the Right Type of Caulk
Not all caulk is the same. The two types most relevant to home repairs are silicone and latex (acrylic) caulk.
Silicone caulk forms a waterproof, highly flexible bond and resists mildew. It's the right choice for wet areas — showers, tubs, and sinks. Its downsides: it cannot be painted, it requires a clean, dry surface to bond properly, and cleanup requires mineral spirits rather than water.
Latex (acrylic) caulk cleans up with water, accepts paint, and is easier to tool into a smooth bead. It suits dry areas like window and door trim, baseboards, and interior gaps where waterproofing isn't the primary concern. For exterior use, look for formulations specifically rated for outdoor exposure.
Many products are labeled "siliconized latex" — a blend that adds some of silicone's flexibility and water resistance to an otherwise latex base. These can be appropriate for semi-wet areas, though a dedicated silicone product remains preferable for prolonged water exposure.
See our article on filling gaps around doors and windows for guidance on choosing the right exterior-rated caulk for drafty frames.
How to Apply Each One Correctly
For grout: Remove any crumbled or cracked grout fully using a grout saw or oscillating tool. Vacuum the joint clean and dampen the surrounding tiles slightly before mixing or applying pre-mixed grout. Work it into joints at a diagonal using a rubber float, then remove excess with a damp sponge in circular motions. Allow it to cure according to the product instructions before exposing it to water. For detailed prep guidance, see what to check before you re-grout.
For caulk: Start by removing all old caulk — a caulk remover tool or utility knife works well. Clean the surface with rubbing alcohol and allow it to dry completely. Cut the caulk tube tip at a 45-degree angle, apply steady pressure to the gun, and drag it smoothly along the joint in one continuous pass. Immediately smooth the bead with a wet finger or caulk tool, then wipe away excess. Do not disturb the joint until curing is complete.
Color Matching Grout and Caulk
Many grout manufacturers offer color-matched caulk for exactly the transitions described here. Using a matched pair creates a visually seamless result even though two different products are doing different jobs. Check the grout product line before sourcing caulk separately — a matching tube is often sold alongside the grout.