

Key Takeaways
- More silicone does not mean a better seal — thin, even beads adhere more reliably than thick blobs.
- Old sealant must be fully removed before applying new sealant, or adhesion will fail.
- Silicone sealant requires 24–48 hours of cure time before any water contact.
- Painting over silicone sealant is not possible — only paintable acrylic caulk accepts paint.
- Surface must be completely dry and clean before application for a lasting bond.
Why Bathroom Sealant Gets It Wrong So Often
Silicone sealant seems straightforward — squeeze it on, smooth it out, done. But the gap between how homeowners typically apply it and how it actually works is wide enough to let water through. Leaks behind tiles, mold along bath edges, and lifting joints are frequently the result not of cheap materials, but of deeply embedded misconceptions about what sealant does and how it behaves.
Understanding the facts behind common myths saves both money and frustration. If you've ever wondered why a freshly sealed joint starts peeling within months, these corrections will explain exactly what went wrong — and how to avoid it next time.
For a broader look at how incorrect sealing assumptions extend to the rest of the home, see our weatherproofing myths guide. And if you're deciding whether your gap needs sealant or grout at all, the caulk vs. grout comparison is a useful starting point.
Myth
Applying more silicone creates a stronger, more waterproof seal.
Fact
Thinner, correctly tooled beads bond more effectively than oversized blobs, which are prone to sagging, skinning unevenly, and pulling away from the surface.
Excess silicone doesn't compress into the joint — it sits on top of it. When the bead is too large, the outer layer skins over while the interior stays uncured, creating a weak internal structure. A bead sized to match the joint width adheres across its full contact surface, producing a more durable and flexible seal that can accommodate normal movement in bathroom fixtures.
Myth
You can apply fresh sealant directly on top of the old layer.
Fact
New silicone will not bond reliably to cured silicone. The old layer must be fully removed before any new material is applied.
Cured silicone has a non-porous, low-adhesion surface. Fresh sealant applied over it bonds only to the old layer — not to the underlying tile or tub — and will peel away relatively quickly. Complete removal using a plastic scraper, a sealant remover product, and a clean solvent wipe is the only approach that gives new sealant a proper substrate to grip.
Myth
Silicone sealant is ready to use as soon as it looks dry on the outside.
Fact
Surface skinning happens quickly, but full cure takes 24–48 hours or more depending on temperature, humidity, and product formulation.
Silicone cures from the outside in through exposure to atmospheric moisture. The visible skin forms within an hour in many conditions, but the interior remains soft and vulnerable to water penetration until the cure process completes. Exposing an uncured joint to water — even briefly — can introduce moisture under the skin, disrupting the cure and weakening the bond. Always observe the full cure time stated on the product label.
Myth
Any silicone sealant can be painted over to match the wall color.
Fact
Standard silicone sealant does not accept paint. Paint beads off its surface rather than adhering.
The same chemical properties that make silicone water-resistant also make it incompatible with most paints. If a painted finish over the joint is needed, a paintable acrylic caulk is the appropriate material. Acrylic caulk is less flexible than silicone and less suited to constantly wet areas like bathtub edges, so choosing between them depends on the specific location and exposure level.
Myth
The surface just needs to look clean before you apply sealant.
Fact
Visible cleanliness is not enough — surfaces must be free of soap residue, mold inhibitors, moisture, and silicone oils for proper adhesion.
Bathroom surfaces routinely carry invisible residues from cleaning products, body oils, and old sealant treatments. These act as release agents, preventing silicone from forming a full bond. Wiping down with isopropyl alcohol (rubbing alcohol) immediately before application removes these residues and gives the silicone the clean, dry surface it needs. Allow surfaces to air-dry for at least an hour after cleaning before starting.
Myth
One type of silicone sealant works equally well everywhere in the bathroom.
Fact
Bathroom sealants vary in formulation — mold-resistant products are specifically designed for high-humidity wet zones like shower enclosures and tub surrounds.
Standard silicone may not contain the fungicide additives included in bathroom-grade or sanitary silicone formulations. In consistently damp environments, standard products can develop mold growth within the sealant body itself, not just on the surface. Using a product labeled for wet-area or sanitary applications provides built-in resistance to the mold and mildew conditions that bathrooms produce daily.
Getting Sealant Right: Practical Steps That Follow the Facts
Correcting these myths points directly to a reliable application process. Start by removing every trace of existing sealant using a plastic scraper or a dedicated sealant remover tool — never apply over old material. Clean the surface thoroughly with isopropyl alcohol and allow it to dry completely; even residual moisture will compromise adhesion.
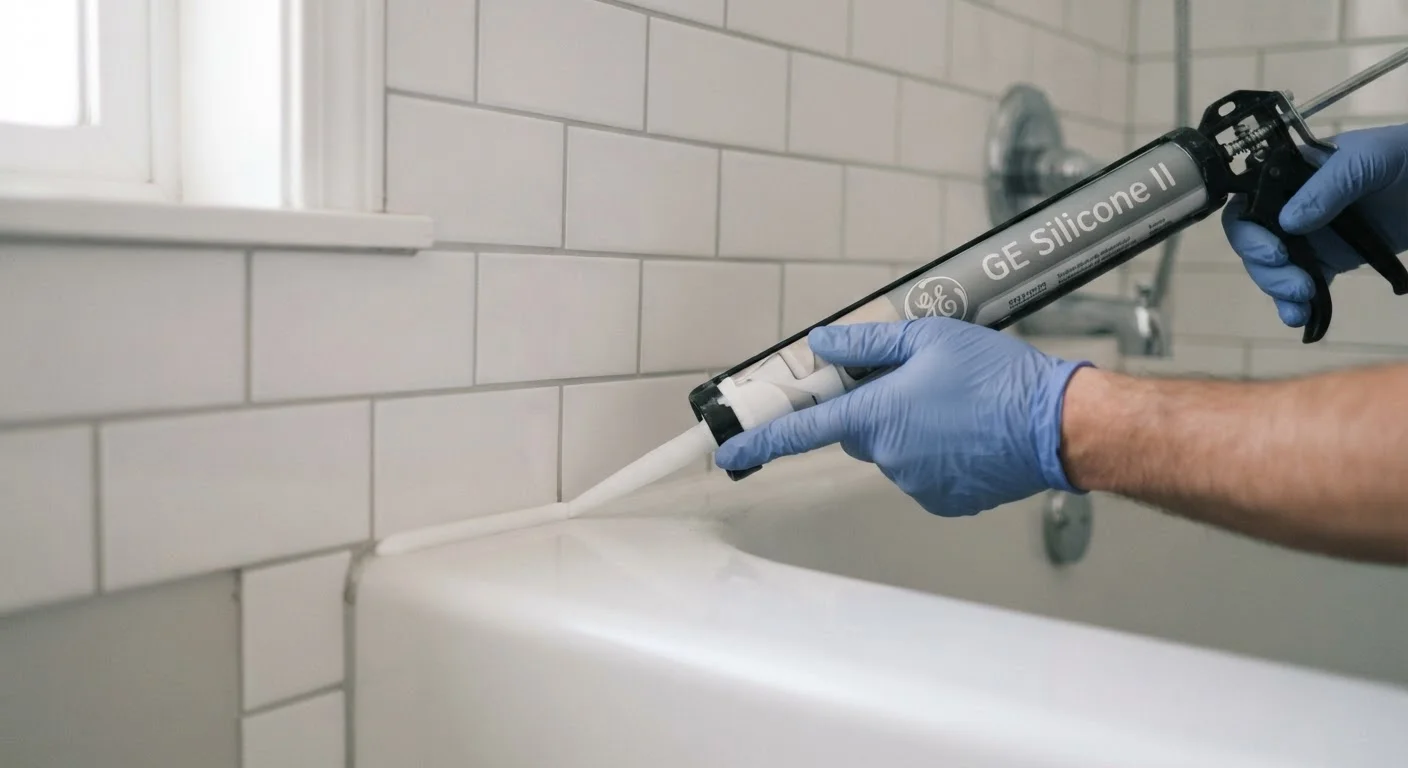
Cut the nozzle to produce a bead no wider than the joint itself — typically 4–6 mm. Apply in a single smooth pass at a consistent angle, then smooth immediately with a wet finger or a caulking tool. Less is more: a thin, well-pressed bead outperforms a thick, unsupported one every time.
Don't Rush the Cure — It Costs More Later
Using the shower or bath before silicone has fully cured is one of the most common reasons a new seal fails within weeks. Water forced against an uncured joint can break the forming bond permanently, meaning the entire job needs to be redone. Plan the resealing job for a period when the bathroom can be left unused for at least 48 hours, and err on the side of waiting longer rather than shorter in cold or humid conditions.
Allow the sealant to cure fully — check the manufacturer's stated cure time, which is commonly 24–48 hours — before running any water near the joint. Resist the urge to test it early. Once cured, inspect the joint annually and replace any sections showing cracking, discoloration, or lifting before they allow water behind surfaces.
For related sealing challenges elsewhere in the home, our article on filling gaps around doors and windows covers material choices and technique for draught-prone areas.
24–48 hrs
Typical silicone sealant full cure time
Most silicone sealant manufacturers specify a minimum of 24 to 48 hours before water exposure, though some products and cooler conditions require longer.
~4–6 mm
Recommended bead width for bath joints
Home improvement guidance consistently recommends matching the bead size to the joint width — typically 4–6 mm for standard bath and shower applications.