

Key Takeaways
- Caulk alone cannot fix all draught problems — door sweeps, weatherstripping, and insulation each address different gaps.
- Plastic window film can meaningfully reduce heat loss when applied correctly, despite its low-cost reputation.
- More insulation is not always better — moisture management and ventilation matter just as much as R-value.
- Weatherproofing should target the building envelope systematically, not just the most obvious gaps.
Why Weatherproofing Myths Persist
Weatherproofing advice travels fast — from hardware store conversations to online forums — and much of it gets repeated without scrutiny. The result is homeowners spending time and money on fixes that address the wrong problem, or applying the right material in the wrong place. Understanding which common beliefs are accurate — and which lead to wasted effort — is the foundation of any effective home-sealing project.
The core principle of weatherproofing is straightforward: reduce uncontrolled air and moisture movement through the building envelope. The details, however, require matching the right solution to each specific gap, joint, or surface. No single product or method covers every situation, and that mismatch between expectation and reality is where most myths take root.
Myth
Caulking around windows and doors is enough to weatherproof your home.
Fact
Caulk seals static cracks and gaps, but it cannot address moving joints, gaps at the door bottom, or gaps in wall cavities.
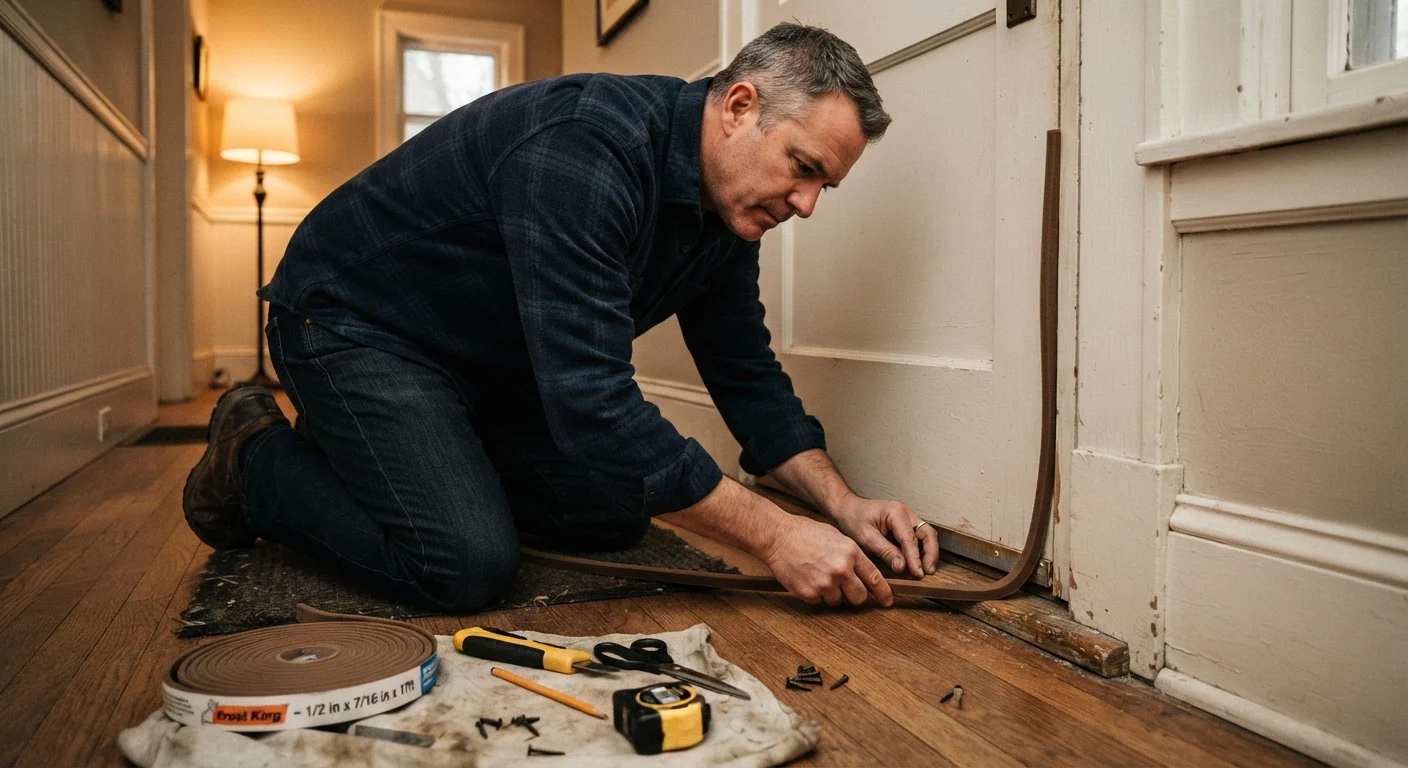
Caulk is one tool in a larger system. It works well on non-moving surfaces — around window frames, exterior trim, and where siding meets masonry. However, the gap under an exterior door requires a door sweep or threshold seal, not caulk, because that gap opens and closes constantly. Similarly, gaps behind electrical outlets on exterior walls and around pipe penetrations often need foam backer rod, spray foam, or gaskets. A thorough approach to sealing gaps around doors and windows means choosing the right material for each type of joint.
Myth
Cheap plastic window film is just a temporary gimmick and doesn't actually reduce heat loss.
Fact
When correctly installed and sealed, interior window film adds a dead-air insulating layer that measurably reduces conductive heat loss through single-pane glass.
The insulating effect comes from the still air trapped between the film and the glass surface — the same principle used in double-glazing. A loosely applied or poorly sealed film loses most of that benefit, which is why sloppy installation gives the product a bad reputation. Applied taut and sealed at all edges, film is a legitimate low-cost supplement for older single-pane windows during cold months. It won't replicate the performance of replacement double-pane units, but it is not a gimmick.
Myth
Adding more attic insulation is always the single best weatherproofing upgrade.
Fact
Attic insulation improves thermal performance only when air sealing is done first; skipping air sealing makes additional insulation far less effective.
Insulation slows the transfer of heat through a material — it does not stop air movement. If warm indoor air can bypass insulation through gaps around recessed light fixtures, plumbing chases, or attic hatches, adding more insulation on top accomplishes little. The correct sequence is to air-seal all penetrations at the attic floor level first, then install or top up insulation. This is a point many homeowners miss when planning upgrades. Uneven warmth throughout your home is often a symptom of bypassed insulation rather than a heating system problem.
Myth
Weatherproofing is only necessary before winter.
Fact
Air and moisture infiltration affect comfort and building performance year-round, and some weatherproofing tasks are best done in warmer months.
Summer heat gain through poorly sealed attic hatches, gaps around recessed lights, and uninsulated knee walls can raise cooling costs just as significantly as winter heat loss. Caulk and sealant materials also cure and bond more effectively in mild, dry weather than in cold or humid conditions. The summer upkeep tasks homeowners tend to overlook include checking attic ventilation and inspecting exterior caulk — both directly relevant to weatherproofing performance.
Myth
If you can't feel a draught, there's no significant air leakage to address.
Fact
Many significant air leaks are in locations where you won't feel them — attic bypasses, basement rim joists, and wall cavities are common examples.
Human skin can detect a draught from a moving air stream, but slow, diffuse air leakage through large surface areas goes unnoticed by touch. A rim joist — the framing member that sits on top of your foundation wall — is one of the most significant air leakage sites in many older homes, yet almost no one feels a draught there. A lighted incense stick or a smoke pen held near suspected leak points reveals air movement that hands cannot. A professional blower-door test can quantify total leakage across the whole building envelope.
Building a More Effective Weatherproofing Approach
Once the myths are cleared away, a practical pattern emerges. Effective weatherproofing works from the outside in and from the top down — starting with the roof and attic, moving to exterior walls and window frames, and finishing with floor-level gaps and foundation details. This systematic approach avoids the common mistake of sealing visible gaps while ignoring larger, less obvious leakage paths.
Don't Seal a Home Too Tightly Without Planning for Ventilation
Sealing all air leaks without considering fresh-air exchange can raise indoor humidity and trap pollutants. Homes need a controlled level of air exchange. If you plan a comprehensive weatherproofing project, consult a building performance specialist about balanced ventilation before proceeding.
For a structured room-by-room approach to getting ahead of cold-weather leaks, see our room-by-room winter readiness guide. And if you're tackling multiple small repairs at the same time, it's worth reviewing common DIY repair mistakes to avoid compounding problems. Condensation patterns on glass can also indicate where the envelope is underperforming — our guide to window condensation explains what different patterns mean.
When to Call a Licensed Professional
Weatherproofing that involves cutting into walls, modifying attic ventilation systems, or touching electrical wiring near exterior penetrations is not a safe DIY task. Work of this kind may also require permits depending on your local building code. Always verify local requirements with your municipality before starting.
Weatherproofing done systematically — rather than reactively — tends to deliver lasting results. Prioritize air sealing before adding insulation, choose materials matched to the joint type, and revisit exterior caulk each spring to catch any cracking before seasonal moisture sets in.