

Key Takeaways
- Cracked or crumbling grout is repairable, but loose or shifting tiles must be fixed first.
- Thoroughly removing old grout matters more than any other prep step.
- Moisture and mold behind tiles can make re-grouting pointless without addressing the root cause.
- Choosing the right grout type for your tile size and location prevents premature failure.
- Not every gap should be filled with grout — some joints need caulk instead.
Summary
18 items · 30–60 minutes
Why Prep Makes or Breaks a Re-Grout Job
Re-grouting looks straightforward — scrape out the old, press in the new. But skipping even one assessment step can mean fresh grout that cracks within months, traps moisture, or hides a worsening structural problem. Done right, re-grouting can extend the life of a tiled surface by years. Done wrong, it's an expensive do-over.
This checklist walks you through three stages: what to check before you touch anything, how to prep the surface properly, and what to realistically expect from the finished result. If you're also weighing whether your repair calls for grout or caulk, the Caulk vs. Grout guide explains which product belongs where — a common source of early failures.
Surface Assessment
Old Grout Removal
Surface Cleaning and Drying
Material and Mix Prep
Tools and Materials to Have Ready
Before you begin, confirm you have the right materials on hand. Grout formulations vary significantly — unsanded grout is used for joints under 1/8 inch, while sanded grout handles wider gaps. Epoxy grout offers superior durability in high-moisture areas but requires faster working time. Read the manufacturer's instructions on your chosen product carefully before mixing.
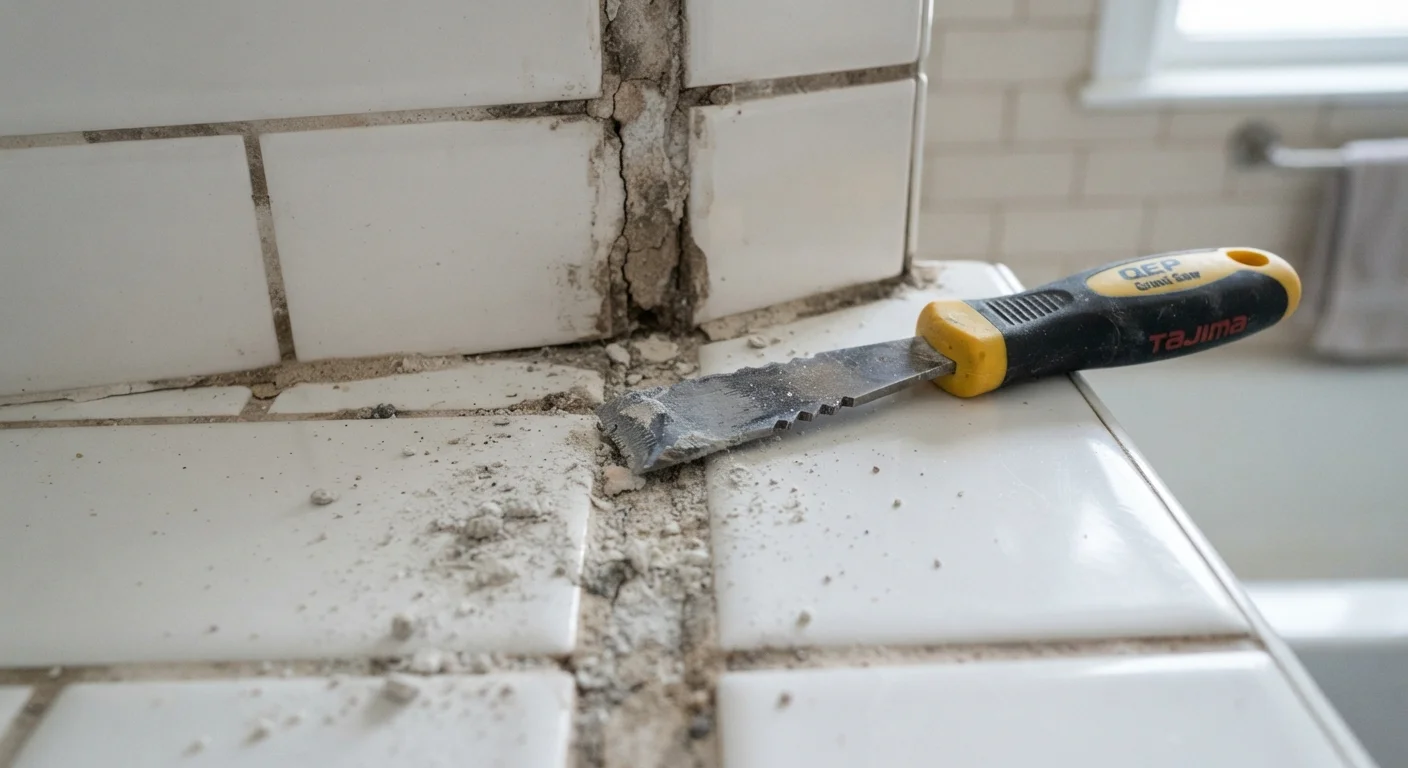
Grout Saw or Oscillating Multi-Tool
Removes old grout from joints cleanly and efficiently without damaging tile edges.
Grout Float
Spreads and presses new grout into joints at the correct angle and pressure.
Bucket and Margin Trowel
Used to mix grout to a consistent, workable consistency.
Large Sponge and Clean Water
Wipes away grout haze from tile faces during and after application.
Stiff-Bristle Brush and Shop Vacuum
Clears dust and debris from joints after old grout removal.
Grout Release or Tile Sealer
Applied to porous tile faces before grouting to ease surface cleanup.
Grout Sealer
Applied after grout has fully cured to resist staining and moisture penetration.
Don't Mix Grout Types Mid-Project
Using two different grout formulations — or two batches from different dye lots — in the same surface area often results in visible color inconsistency that is difficult to correct after curing. Purchase enough grout from a single batch to complete the entire job before you begin. If you run out partway through, the color difference on dried grout is typically permanent.
Setting Realistic Expectations
Even a well-executed re-grout won't look identical to brand-new factory tile work. Grout color can vary between batches, and older tiles may have accumulated staining at the edges that no amount of cleaning fully removes. Budget for these visual imperfections going in.
Plan for the surface to be out of use for at least 24 hours after grouting, and longer before exposing it to standing water — always follow the cure time guidance on your grout packaging. If you're preparing a bathroom as part of broader seasonal maintenance, the room-by-room winter prep checklist covers related moisture-management steps worth doing at the same time.
Persistent Moisture Requires Professional Assessment
If you find soft substrate material, rotted backer board, or water staining behind removed grout, stop work and consult a licensed contractor before proceeding. Re-grouting over an actively wet or compromised substrate will not fix the underlying leak and may conceal damage that worsens over time. This type of repair commonly requires permits and professional trade work depending on your location.