

Key Takeaways
- Labels only work when they're easy to read, update, and placed where people naturally look.
- Handwritten labels are fast and flexible but fade; printed labels last longer but take more setup.
- Chalkboard and erasable labels suit frequently changing contents like pantry staples.
- Shared kitchens benefit from visual cues and color-coded systems over text-only labels.
- The labelling system that gets used consistently beats any technically superior system that gets skipped.
Our Verdict
No single labelling method wins for every kitchen. Printed labels suit stable, long-term storage; erasable and chalkboard labels work better for rotating pantry contents; color-coding adds value in shared spaces. The real measure of success is whether everyone in the household actually uses the system.
| Best for | Recommended |
|---|---|
| Stable storage like spice jars or container lids | Printed or adhesive die-cut labels |
| Frequently changing pantry contents | Chalkboard or erasable labels |
| Households with multiple cooks or children | Color-coded or icon-based labelling |
| Budget-conscious or low-commitment organizers | Handwritten masking tape labels |
Why Most Kitchen Labels Fail Within Weeks
Kitchen labelling systems often start with good intentions and end up abandoned within a month. The labels peel, the contents change, or — most commonly — people simply stop consulting them. Understanding why systems fail is the first step to building one that holds up.
The core problem is friction. If updating or reading a label takes more than a couple of seconds, most people skip it entirely. Labels placed behind containers, on the bottom of bins, or in hard-to-reach spots get ignored just as quickly as no label at all. Placement and legibility matter as much as the label type itself.
For a broader foundation before diving into labelling, see our beginner's kitchen organization guide, which covers how to structure every zone before layering in a labelling system.
Comparing the Main Labelling Approaches
Each labelling method has a different trade-off between effort, durability, and flexibility. Here's how the common options stack up:
| Handwritten Tape | Printed/Label Maker | Chalkboard Labels | Color-Coded System | |
|---|---|---|---|---|
| Upfront cost | Near zero | Low to moderate | Low | Low |
| Ease of updating | Very easy | Moderate (reprinting) | Easy (wipe and rewrite) | Easy |
| Durability | Low (fades, peels) | High | Moderate | Moderate to high |
| Visual tidiness | Low | High | Medium-high | High with consistency |
| Best for rotating contents | Yes | No | Yes | Yes |
| Works without reading text | No | No | No | Yes |
| Freezer-safe | Yes (permanent marker) | Sometimes | No | Depends on material |
Handwritten labels on masking tape or painter's tape remain the most accessible option — nearly zero cost, easy to remove, and quick to update. The downside is legibility over time: ink fades, tape edges curl, and the system can start to look chaotic in a busy kitchen.
Printed labels, whether from a label maker or printed sheets, look cleaner and last longer on stable storage like spice jars, drawer organizers, and airtight containers. They're less practical for items that rotate frequently, since reprinting for every change adds friction.
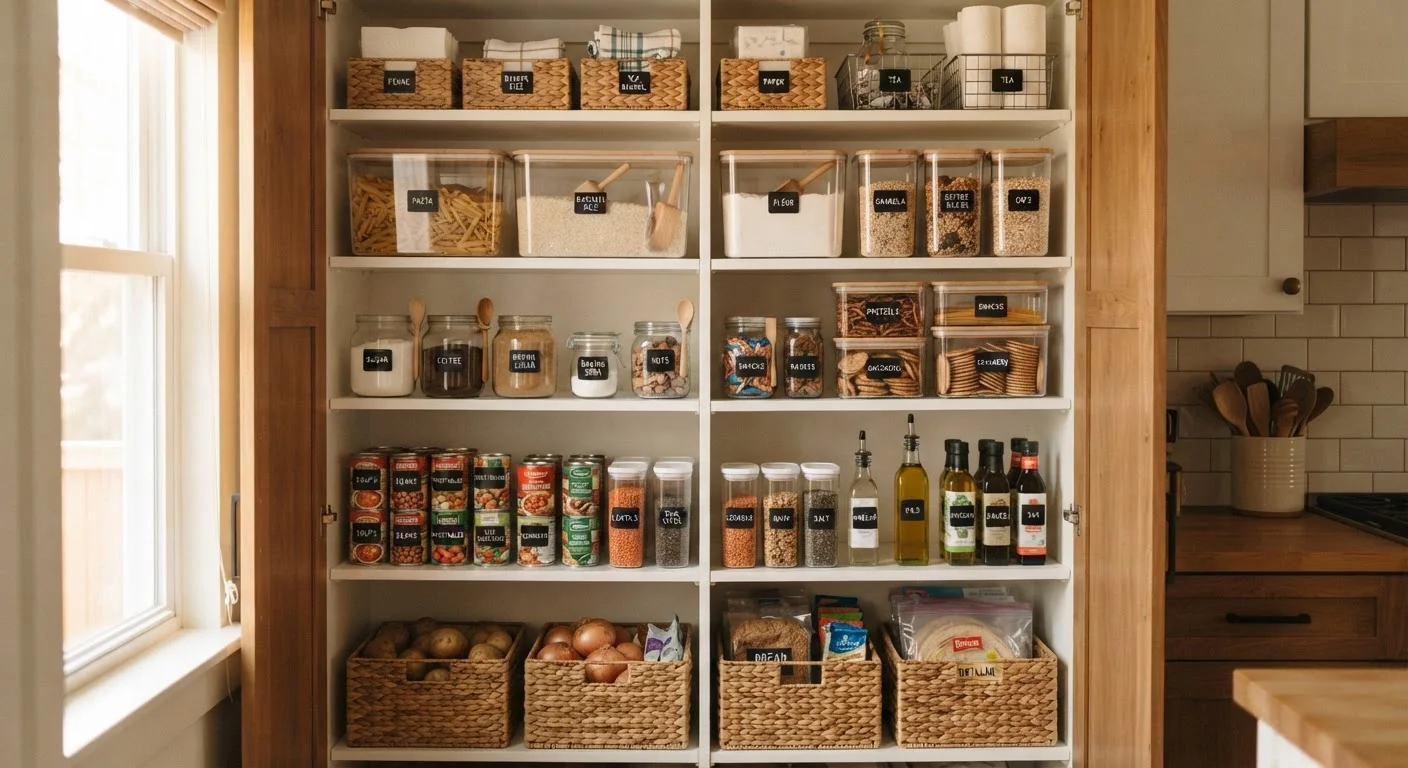
Chalkboard labels — small adhesive tags with a matte surface you write on with chalk marker — are a good middle ground for pantry containers. They're erasable, reasonably durable, and look tidy without requiring a printer. The catch: chalk markers vary in wipe-ability, and some require specific erasers to fully remove.
Color-coded systems use colored tape, dot stickers, or colored bins to organize by category rather than text. These work especially well in shared kitchens where different household members have different storage habits, or with young children who can't yet read text labels.
Where Each System Works Best
Matching the label type to the location is what separates a system that lasts from one that gets abandoned.
- Pantry shelves and dry goods: Chalkboard or erasable labels suit containers of flour, sugar, grains, and snacks — contents that change seasonally or get swapped out. Pair with front-facing placement so labels are visible without pulling containers off the shelf. Our pantry organization principles guide covers how to structure the shelves themselves.
- Spice jars and small containers: Printed labels or a label maker work well here since spice names rarely change. Top-down labels (on the lid) are especially useful when jars are stored in a drawer.
- Freezer storage: Masking tape and a permanent marker remains the most reliable freezer label method — many adhesive labels lose their stick at low temperatures. Always include the date alongside the contents.
- Drawers and zones: Simple text labels on drawer dividers or bin fronts clarify what belongs where. This is worth combining with a kitchen zones approach so the labels reinforce an existing logic rather than stand alone.
Label the Location, Not Just the Item
When you label the shelf slot or bin rather than only the container, your system stays intact even when containers get swapped, washed, or replaced. This is especially useful in pantries where bulk items shift between vessels regularly. A simple strip of tape on the shelf edge is all it takes.
For airtight containers specifically, labelling the lid and the container body prevents mismatches when lids and bases get separated — a small step that saves real time. Our container types reference explains which storage formats benefit most from labelling.
Making the System Stick for Everyone
A labelling system is only as effective as the household's willingness to maintain it. A few practical principles help:
- Lower the barrier to update: Keep a marker or chalk marker near the area being labelled. If the tool isn't accessible, updates won't happen.
- Label the spot, not just the container: Labelling the shelf or bin location — not just the item — means the system survives even when containers are washed, replaced, or emptied.
- Don't over-label: Labelling every single item creates visual noise that people start to tune out. Focus on ambiguous categories and frequently moved items.
- Review every few months: Pantry contents and storage needs shift. A quarterly check to remove outdated labels keeps the system accurate and trustworthy.
The best labelling system is the simplest one that a household will actually maintain. A perfectly printed, color-coordinated system that gets bypassed daily is far less useful than a rough masking-tape setup that everyone actually refers to.