

Key Takeaways
- Most drywall damage — nail pops, small holes, and medium gaps — can be repaired without professional help.
- Choosing the right patching method depends on the hole size: spackling for small dents, mesh patch kits for mid-size holes, and backer boards for larger gaps.
- Joint compound must dry completely between coats; rushing this step is the top reason patches look uneven.
- Priming before painting is essential for a seamless, invisible repair.
- Work involving electrical wiring or plumbing behind drywall should always involve a licensed professional.
Start here
Understanding Drywall and Common Damage Types
Next
Tools and Materials You'll Need
Then
Patching Small Holes and Dents
When ready
Repairing Medium and Large Holes
Almost done
Finishing, Sanding, and Painting
Review
Common Mistakes to Avoid
Understanding Drywall and Common Damage Types
Drywall — also called gypsum board or sheetrock — is the standard wall material in most US homes built after the 1950s. It consists of a gypsum plaster core pressed between two layers of paper. Despite being durable under normal conditions, it dents, cracks, and punctures more easily than many homeowners expect.
Joint compound
A plaster-like paste — often called 'mud' — used to fill, smooth, and finish drywall seams and patches. It is applied in thin layers and sanded once dry.
Feathering
A finishing technique where joint compound is thinly tapered at the edges of a patch so it blends invisibly into the surrounding wall surface.
Backer board
A strip of wood or thin board inserted behind a large hole to give the replacement drywall patch something solid to screw into.
Gypsum board
Another name for drywall; a building panel made from a gypsum plaster core sandwiched between two layers of paper, used for interior walls and ceilings.
Nail pop
A raised bump on the wall surface caused by a fastener (nail or screw) backing partway out of the stud over time, pushing the drywall surface outward.
Drywall primer
A preparatory coating applied to repaired drywall before painting to seal the surface and ensure the finish paint adheres and appears uniform.
Common damage types fall into three broad categories:
- Nail pops and small dents — caused by fasteners backing out of studs over time, or minor impacts.
- Medium holes (1–4 inches) — typically from doorknob strikes, removed wall anchors, or accidental punctures.
- Large holes (over 4 inches) — often from plumbing access cuts, accidental kicks, or significant impacts.
Identifying which category your damage falls into determines the method and materials you'll use. If you're new to home upkeep in general, our First-Time Homeowner's Introduction to Seasonal Maintenance puts repairs like this in helpful broader context.
Tools and Materials You'll Need
Before starting, gather everything in one place to avoid mid-project trips. The exact list varies by patch size, but most repairs share a common core set of supplies.
- Putty knife or drywall knife — a 3-inch knife for small patches; a 6- to 10-inch knife for larger areas
- Sanding sponge or sandpaper — 120-grit for shaping, 220-grit for finishing
- Joint compound ("mud") — pre-mixed lightweight compound suits most repairs
- Mesh drywall patch kit — self-adhesive, for holes up to about 4–6 inches
- Drywall screws and backer strips or boards — for larger holes
- Primer and matching paint
- Drop cloth and painter's tape — to protect floors and trim
You don't need a specialized toolkit for most of these tasks. Our guide to essential repair tools covers what each tool does and how to select one confidently.
Buy a little more than you think you need
Joint compound in particular is used across multiple coats, and you'll likely sand some away. Purchasing a slightly larger container than the patch seems to require avoids a mid-project supply run. Leftover compound can be stored sealed for future repairs.
Patching Small Holes and Dents
For nail holes, small dents, and openings under about an inch, the process is straightforward.
- Clean the area. Remove any loose paper edges or crumbling gypsum around the hole with a putty knife.
- Apply spackling or lightweight joint compound. Use a putty knife to press a small amount into the hole, then drag the blade flat across the surface to remove excess. The goal is flush, not raised.
- Let it dry completely. This typically takes several hours to overnight depending on humidity. The compound will shrink slightly as it dries.
- Sand smooth. Once fully dry, sand lightly with 220-grit sandpaper until the surface is even with the surrounding wall.
- Apply a second coat if needed. Shrinkage sometimes leaves a shallow depression. A thin second coat, dried and sanded, usually solves this.
For nail pops specifically, drive the existing nail slightly deeper with a hammer, then add a drywall screw about 2 inches above and below the pop to re-secure the panel before spackling.
Repairing Medium and Large Holes
Holes between 1 and 6 inches call for a self-adhesive mesh patch kit. Larger openings require a backer board and a cut piece of new drywall.
Medium holes (1–6 inches): Mesh patch method
- Clean and smooth the edges of the hole.
- Center the self-adhesive mesh patch over the hole and press it firmly to the wall.
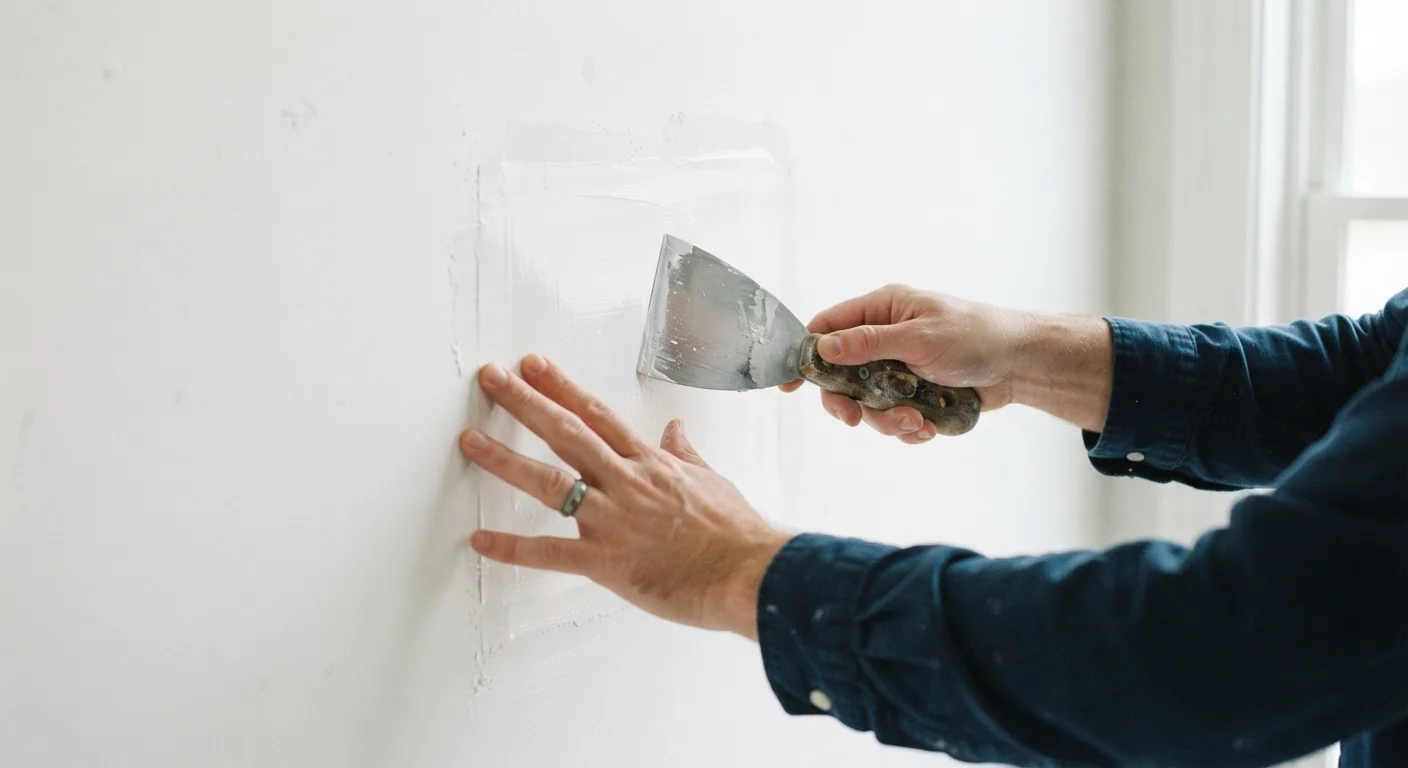
- Apply joint compound over the mesh with a 6-inch knife, feathering the edges outward well beyond the patch boundary — at least 2–3 inches in every direction.
- Let dry, sand lightly, then apply one or two additional thin coats, feathering each coat wider than the last. This blending technique prevents a visible ridge.
Large holes (over 6 inches): Backer board method
- Use a drywall saw to square the hole into a clean rectangle.
- Cut a wooden backer strip or furring strip slightly longer than the hole's height and insert it through the opening, holding it against the inside face of the wall. Drive drywall screws through the existing drywall on either side to hold it in place.
- Cut a drywall patch to fit snugly in the opening and screw it to the backer strip.
- Apply joint compound over the seams and screw dimples, using mesh tape on joints. Build up in thin coats, feathering each layer.
Safety note: Before cutting into any wall, verify there are no electrical wires, plumbing pipes, or gas lines behind it. Use a stud finder with wire-detection capability. If you have any doubt, consult a licensed professional.
Finishing, Sanding, and Painting
The finishing stage is where most first-timers either win or lose. A well-applied patch done with poor finishing will still be visible after painting.
- Final sanding. Once all coats are dry, sand the entire patched area with 120-grit paper, then finish with 220-grit. Wipe away dust with a slightly damp cloth and allow to dry.
- Prime the patch. Apply drywall primer to the repaired area — and ideally the surrounding wall — before painting. Without primer, the patch will absorb paint differently and show as a dull spot.
- Paint. Use the same sheen level as the existing wall. Flat paint hides imperfections better; eggshell and satin are more durable but less forgiving. Feather the paint at the edges so the transition isn't abrupt.
Matching existing paint is often the trickiest part. If you saved leftover paint from the original job, this is when it earns its shelf space. If not, bring a small chip of the existing wall to a paint counter for color matching.
Common Mistakes to Avoid
Even straightforward repairs go sideways for predictable reasons. Knowing these pitfalls in advance keeps your patch invisible and your wall smooth.
- Applying compound too thick. Thick coats crack as they dry. Multiple thin coats always produce better results.
- Not feathering edges. Compound applied in a raised mound will show through paint. Each coat should taper gradually into the surrounding wall.
- Skipping primer. This single step separates professional-looking results from obvious patches.
- Rushing drying time. Painting or sanding damp compound causes the surface to tear or bubble.
- Ignoring the underlying cause. A nail pop that keeps recurring often signals a truss uplift issue or improper fastening; repeated cracks near corners can mean settling. Address the root cause when possible.
For a broader look at how small missteps compound into bigger problems, see our article on repairs most DIYers get wrong. And if budget is a concern, patching drywall is one of the tasks covered in our guide to home repairs on a tight budget.
Stop if you find wiring, pipes, or mold
If you open a wall and discover electrical wiring, plumbing, or any sign of mold or water damage, stop work immediately. These situations require a licensed electrician, plumber, or mold remediation professional. Continuing without the right expertise can create safety hazards or make the underlying problem significantly worse.