

Key Takeaways
- Most latching problems trace back to three causes: misalignment, loose hardware, or wood movement.
- Seasonal humidity changes cause wood doors to swell or shrink, shifting the latch out of alignment.
- Tightening hinge screws or adjusting the strike plate often fixes the problem in under 30 minutes.
- A lipstick or pencil test pinpoints exactly where the latch bolt is missing the strike plate.
- Exterior doors that won't latch can create security and weatherproofing vulnerabilities.
What you will need
Why Doors Stop Latching: The Root Causes
A door that won't latch is almost never a random failure — it's the result of a physical change somewhere in the door, the frame, or the hardware. Understanding which category your problem falls into is the fastest path to a fix. The three main culprits are misaligned hardware, loose or failing hinges, and wood movement from moisture and temperature changes.
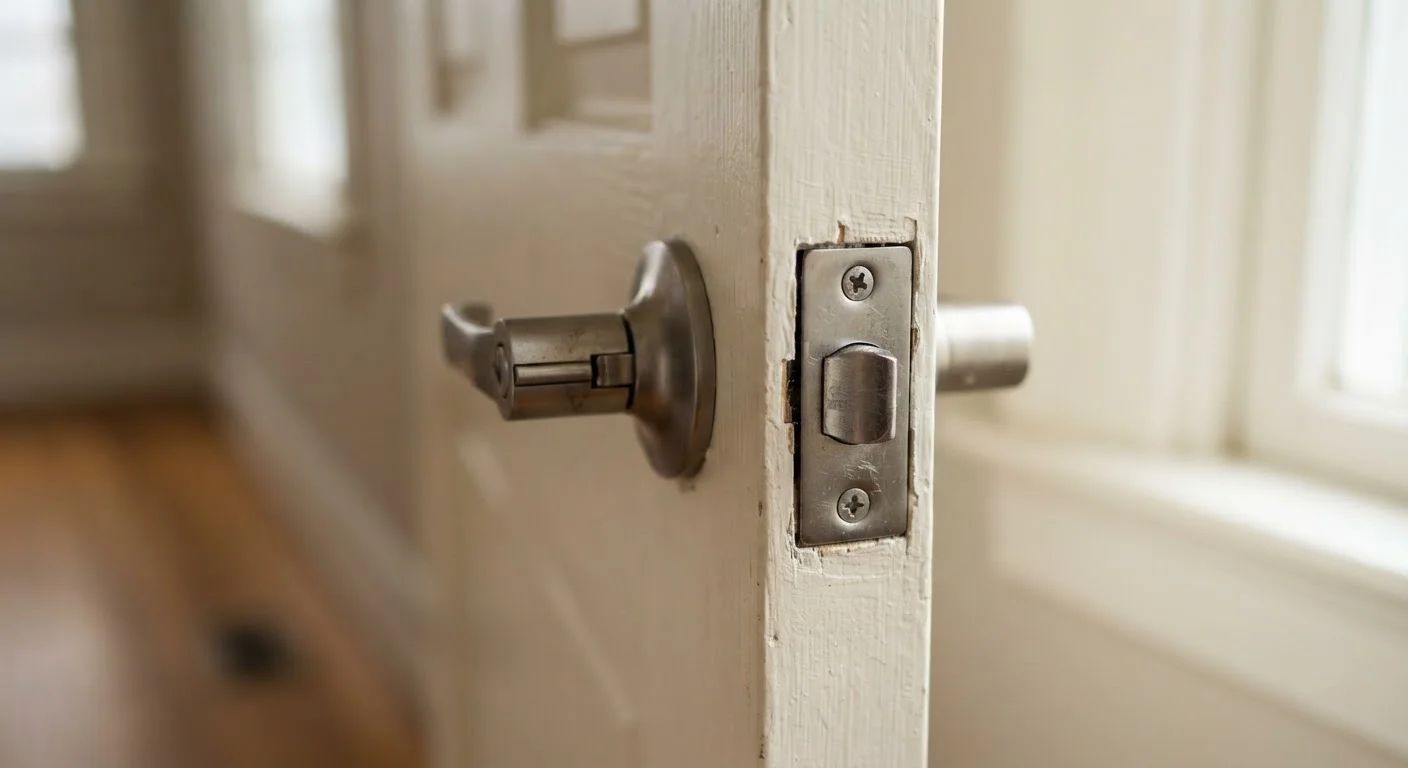
Hardware misalignment happens when the latch bolt — the spring-loaded tongue that sticks out from the door edge — no longer lines up with the hole in the strike plate (the metal plate recessed into the door jamb). Even a 2–3 mm shift is enough to prevent latching. This shift can happen because screws loosen over time, because a hinge has pulled away from the frame, or because the wood itself has moved.
Wood movement is especially common in homes with seasonal humidity swings. In summer, wood absorbs moisture and expands; in winter, it dries and contracts. Exterior doors, bathroom doors, and kitchen doors are most susceptible. This is also why a door that latches fine in January might drag or stick by July.
As you work through the diagnosis steps below, you'll also want to consider whether any gap or seal issues are contributing — a door that's forced shut repeatedly due to a poor latch puts extra strain on weather stripping and can worsen draughts. Our guide on filling gaps around doors and windows covers how to address those secondary effects once the latch is working correctly.
What you will need
Room-by-Room Patterns to Watch For
Different rooms create different latching problems, and knowing the pattern helps narrow down the cause faster.
- Bathrooms and kitchens: High humidity makes doors swell seasonally. If the door latches fine in winter but sticks in summer, wood expansion is almost certainly the cause.
- Exterior doors: These bear the most weather exposure and hardware wear. A sagging exterior door is often a hinge issue — the top hinge in particular works against gravity constantly. A door that won't latch securely is also a security concern, so address it promptly.
- Bedroom and interior doors: These are the most likely to be affected by house settling. If multiple interior doors in the same area of the house start behaving differently, the frame or subfloor in that zone may have shifted.
- Older painted doors: Paint build-up on door edges and frame stops can prevent a door from closing far enough to engage the latch. Score and trim excess paint with a utility knife as a first step before assuming a structural problem.
Phillips-head screwdriver
Tightening or removing hinge screws and strike plate mounting screws.
Flat-head screwdriver
Prying open paint-sealed gaps or adjusting older hardware.
Hammer and chisel
Deepening or widening the strike plate mortise when repositioning it.
3-inch wood screws
Replacing stripped hinge screws to pull the door frame back into alignment.
Lipstick or chalk
Marking the latch bolt to identify exactly where it contacts the strike plate.
Utility knife
Scoring and removing built-up paint from door edges and frame stops.
If your diagnosis points to a systemic issue across multiple doors or windows, it may be worth reading about warning signs your home's systems are sending — persistent alignment problems can occasionally signal larger structural changes worth monitoring.
Run the lipstick alignment test
Apply a small amount of lipstick, chalk, or pencil graphite to the tip of the latch bolt. Close the door slowly and press it firmly against the frame. Open the door and examine the strike plate — the mark left behind shows exactly where the bolt is landing. If the mark is too high, too low, or entirely off the plate, you now have a precise target for your fix.
Check and tighten all hinge screws
Open the door fully and inspect every hinge, starting with the top hinge (which bears the most weight). Try wiggling the door — any play indicates loose screws. Remove the screws one at a time. If a screw spins without gripping, the hole is stripped. Insert a longer 3-inch screw to reach solid wood in the framing stud behind the jamb. This single fix resolves a large proportion of sagging-door latch failures.
Adjust or reposition the strike plate
If the alignment mark shows the latch bolt is missing the strike plate by less than 3 mm, use a metal file to enlarge the opening in the plate slightly in the direction needed. For a larger gap, unscrew the strike plate entirely, mark the corrected position, chisel the mortise (the recessed pocket) to the new position, and reinstall. Fill the old screw holes with wooden toothpicks and glue before driving the screws into the new position.
Plane or sand a swollen door edge
If the door binds against the frame rather than missing the strike plate, wood swelling is likely the cause — common in humid months or in bathrooms and kitchens. Identify the binding edge by looking for a shiny or paint-worn strip. For minor swelling, rub the contact area with candle wax or bar soap as a temporary measure. For persistent swelling, remove the door from its hinges and use a hand plane or coarse sandpaper to trim the edge, then refinish any bare wood to prevent moisture re-entry.
Inspect the door frame for structural movement
If hinges are tight, the strike plate is aligned, and the door still won't latch, the frame itself may have shifted — caused by settling, moisture damage, or (in rare cases) structural movement. Look for cracks in the drywall near the door corners, gaps between the door frame and surrounding wall, or a door that has changed behavior suddenly. Minor settling is common in older homes and often addressed by adjusting the strike plate. Significant or sudden frame distortion warrants inspection by a licensed contractor before you attempt further DIY work.
Common Mistakes to Avoid During the Repair
Even a straightforward fix can go sideways with a few missteps. Common DIY repair mistakes like over-tightening screws, skipping the alignment test, or cutting too aggressively into a door edge all apply here.
A frequent error is removing and repositioning the strike plate before checking the hinges. If the hinges are loose, moving the strike plate won't produce a lasting fix — the door will continue to sag. Always start with the hinges. Another common mistake is planing too much material off a swollen door; remove a small amount, test the fit, and repeat rather than cutting too deep in one pass.
Finally, don't assume that a door that suddenly won't latch is purely a hardware problem. A change that happens quickly — rather than gradually over a season — can sometimes point to something worth investigating more broadly. The same principle applies when evaluating whether a door latch mechanism itself is repairable or needs replacing: repairability is a factor worth weighing before automatically buying a new lockset.
Most latching problems can be resolved in a single session with basic tools and no professional help. Work methodically through each possible cause, make one adjustment at a time, and test the door after each change — this approach pinpoints the fix efficiently and avoids creating new problems in the process.