

Key Takeaways
- Reading the full recipe before starting prevents mid-cook surprises and timing errors.
- Prepping all ingredients before heat goes on reduces stress and the risk of overcooking.
- Checking equipment and workspace availability ahead of time keeps your workflow uninterrupted.
- A tidy, clear surface makes cooking faster and safer for everyday home cooks.
- A simple pre-cook routine builds confidence and consistency over time.
Summary
22 items · 10–20 minutes
Why a Pre-Cook Checklist Actually Matters
Most cooking mistakes don't happen at the stove — they happen in the five minutes before you even turn on a burner. You realize the butter is still frozen, you can't find the colander, or you discover the recipe needs two hours of marinating time you don't have. These are fixable problems, but only if you catch them early.
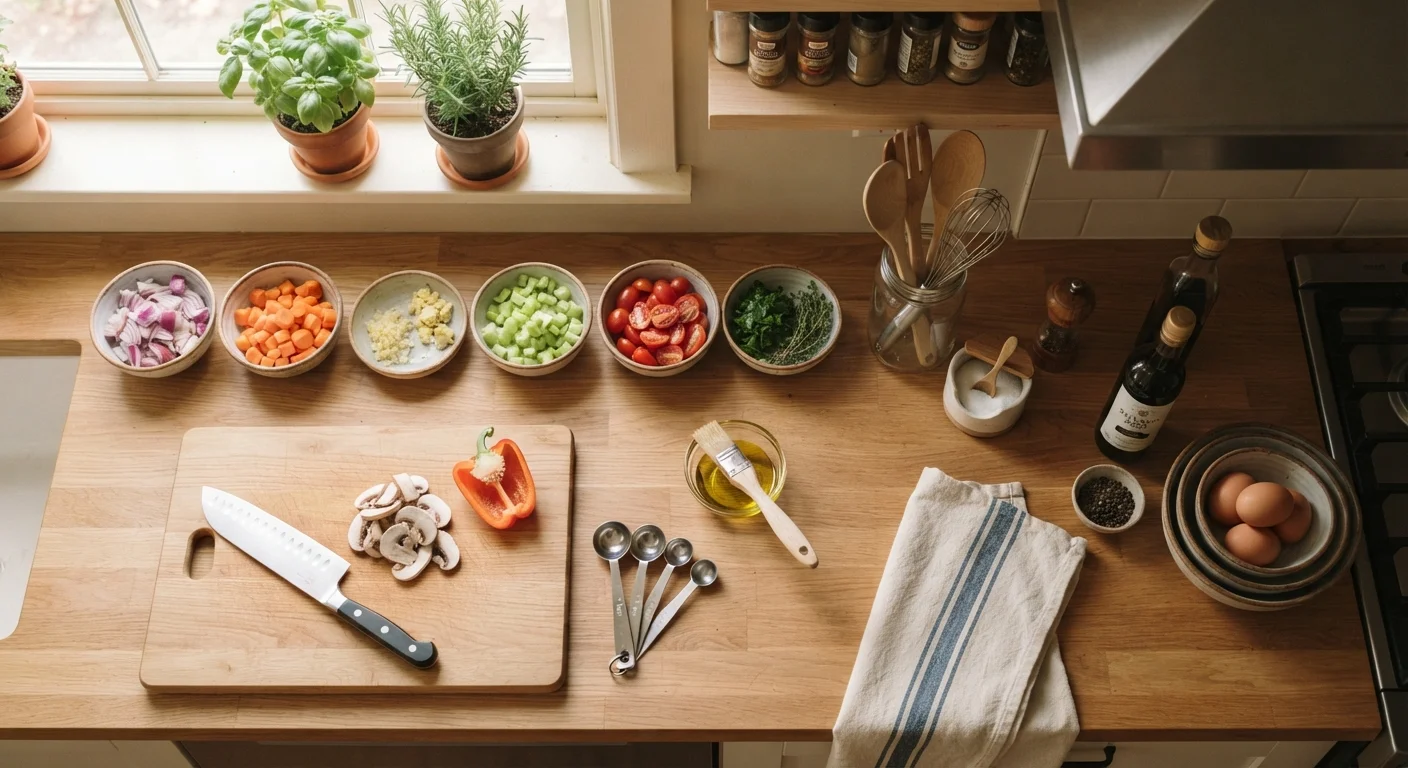
Professional cooks call the solution mise en place — a French phrase meaning "everything in its place." It's not a fancy technique; it's a disciplined habit of preparing your workspace and ingredients before cooking starts. If you want to go deeper on the philosophy behind it, read our full guide to mise en place. This checklist is the practical version: a quick run-through you can do before any meal to keep things moving smoothly.
Use the checklist below as a pre-flight scan. You won't need every item every time — a simple weeknight pasta has different demands than a braised short rib — but scanning each category takes only a few minutes and prevents a lot of avoidable chaos.
Cutting board
Primary prep surface for chopping, slicing, and organizing prepped ingredients.
Chef's knife
All-purpose knife for most chopping and prep tasks in a pre-cook routine.
Small bowls or ramekins
Hold measured ingredients (mise en place bowls) so everything is grab-ready when cooking starts.
Measuring cups and spoons
Ensure accurate quantities before cooking begins, especially for baking or seasoning-sensitive recipes.
Kitchen timer
Track cooking stages hands-free so you can focus on other tasks without watching the clock.
Kitchen scale
Useful for recipes that specify ingredients by weight rather than volume.
Trash bowl or scrap bin
Keeps your prep area clear by collecting peels, wrappers, and trimmings as you work.
Your Pre-Cook Checklist
Work through these groups in order. They're arranged to match the natural flow of getting ready to cook — from planning through workspace setup to final ingredient prep.
Recipe Review
Ingredients Check
Equipment Setup
Workspace Preparation
Ingredient Prep (Mise en Place)
Final Sanity Check
Don't Skip the Full Recipe Read
Skimming a recipe and starting immediately is one of the most common causes of mid-cook failures. Marinating times, overnight rests, or temperature requirements are often buried in the middle of a recipe — not flagged at the top. Reading the full recipe before touching any ingredient takes two minutes and routinely saves an entire meal from going sideways.
For cooks who want to take this further and build a full kitchen workflow — from prep through plating — our kitchen workflow checklist covers the bigger picture. And if you're thinking about whether to cook nightly or prep ahead in batches, batch cooking vs. cooking fresh each night lays out the real trade-offs.
Making This Habit Stick
The biggest barrier to a pre-cook routine is that it feels like extra work when you're already hungry and short on time. The reframe that helps: pre-cook prep doesn't add time to your evening — it redistributes it. Fifteen minutes of calm setup beats fifteen minutes of frantic scrambling while something burns on the stove.
Start small. Pick just two or three checklist items — reading the recipe fully and measuring dry ingredients ahead — and build from there. Over a few weeks, the habit becomes automatic and your cook time actually shortens. Your kitchen skills overall will also improve, because you'll start recognizing patterns across recipes rather than reacting to each step in a panic.
A well-organized kitchen makes this routine dramatically easier. If you find yourself hunting for tools or running out of counter space during prep, kitchen organization strategies can help you set up a workspace that supports how you actually cook — not just how kitchens look in photos.
One more tip worth mentioning: prep order matters as much as prep itself. why prep order changes everything explains how sequencing your ingredient prep — starting with the longest tasks first — can shave meaningful time off your total kitchen time.