

Key Takeaways
- Vegetable peels, herb stems, and bones can be frozen and saved over weeks before making stock.
- Avoid bitter or strong-flavored scraps like brassicas, which can overpower your stock.
- Roasting bones before simmering adds significant depth and color to meat-based stocks.
- Homemade stock freezes well for up to three months in portioned containers.
- Stock made from scraps costs almost nothing and reduces household food waste substantially.
What you will need
What Belongs in a Scrap Stock — and What Doesn't
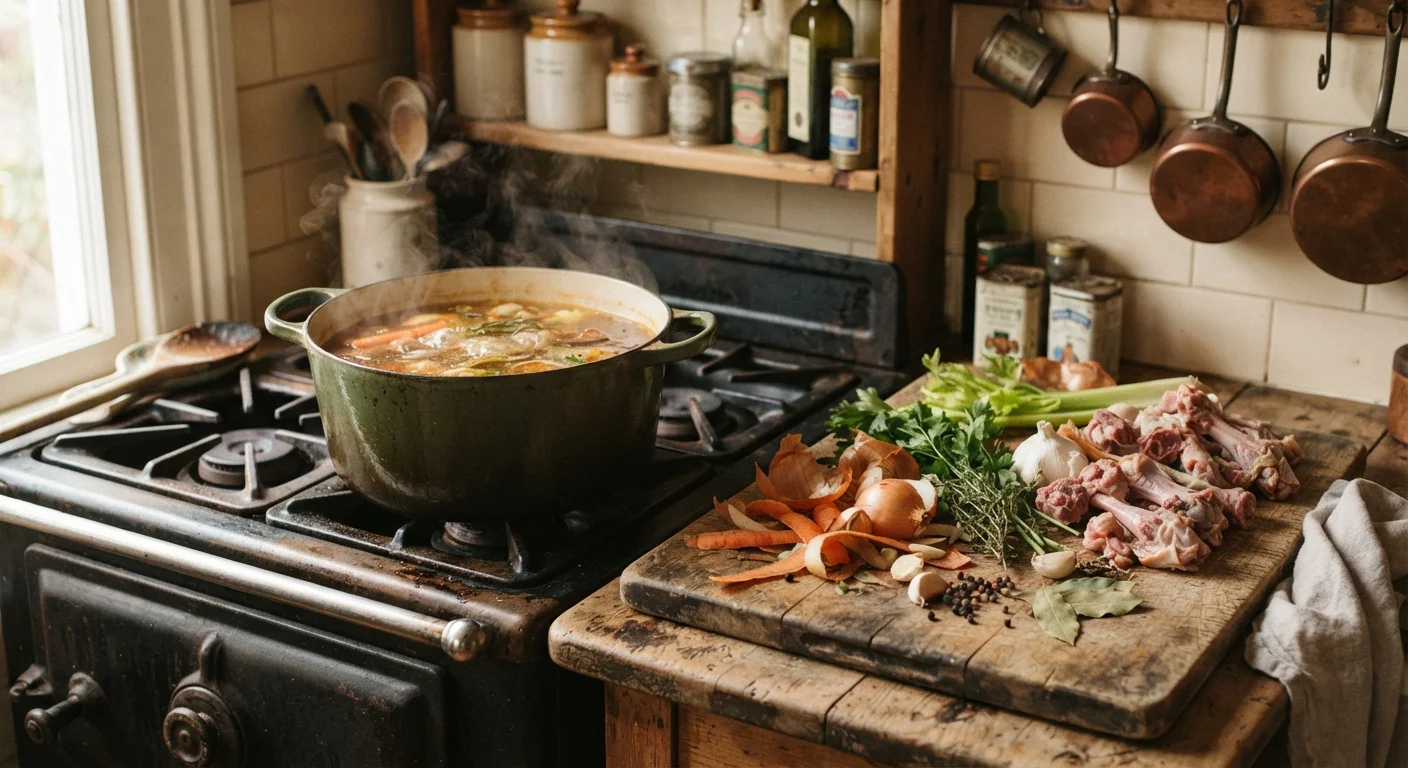
Most cooks already have everything they need for a solid homemade stock — they're just throwing it away. Carrot peels, celery leaves, onion skins, leek tops, mushroom stems, corn cobs, parsley stalks, thyme sprigs, and bay leaves all bring flavor to a pot of water. For meat-based stocks, save chicken carcasses, pork or beef bones, and fish frames if you're working with seafood. These are the foundations of good cooking, and they're explored further in our Kitchen Skills & Tips hub.
Equally important is knowing what to leave out. Brassicas — broccoli, cabbage, cauliflower, Brussels sprouts — turn sulfurous and bitter during long simmers. Starchy peels from potatoes can make stock cloudy and gluey. Beets will turn everything purple. Aggressively spiced scraps or anything that's gone slimy or moldy should go to the compost, not the pot. Stick to fresh-smelling, mild-flavored offcuts and you'll consistently get clean, versatile results.
For guidance on how aromatics like garlic, onion, and celery affect flavor, see Flavour on a Budget.
Building Your Scrap Collection System
The simplest approach is a dedicated zip-lock bag or lidded container kept in the freezer. Each time you peel a carrot, trim a leek, or pull the leaves from a thyme bundle, those scraps go in the bag instead of the bin. Bones from a roast chicken, shrimp shells from dinner, or the rind from a Parmesan wedge can all go in as well. Once the bag is full — usually within two to three weeks of normal cooking — you're ready to make stock.
Freeze scraps as you go
Keep a dedicated freezer bag for vegetable trimmings and a separate one for bones. Add to them throughout the week as you cook, so nothing is wasted and stock-making requires no special shopping trip. Most bags fill up within two to three weeks of regular home cooking.
Keep vegetable scraps and meat scraps in separate bags. This lets you choose between making a vegetable stock or a meat stock depending on what you need, without committing to one approach when you freeze.
If you're incorporating scrap stocks into a larger weekly cooking plan, this habit pairs naturally with batch cooking from scratch, where having stock on hand is a genuine time-saver.
How to Make the Stock
Before you start, gather your tools. You don't need specialized equipment — a large pot, a fine-mesh strainer, and storage containers are sufficient.
Large stockpot (8–12 quart)
Holds scraps and enough water to extract maximum flavor during the long simmer.
Fine-mesh strainer
Separates finished stock from solids cleanly, producing a clear liquid.
Rimmed baking sheet
Used for roasting bones in the oven before adding them to the pot.
Freezer-safe storage containers or zip-lock bags
Stores finished stock in portioned amounts for use throughout the week or month.
Ladle
Skims foam from the surface during the early stages of simmering.
Optional: Roast the bones
If making a meat-based stock, spread bones on a rimmed baking sheet and roast at 400°F for 30–40 minutes until well-browned. This step develops color and a deeper, more complex flavor through caramelization. Skip this step for a lighter, paler stock or when making vegetable stock.
Combine scraps and cold water in a large pot
Place your frozen or fresh scraps and any bones into a large stockpot. Cover with cold water — roughly 10–12 cups for a standard bag of scraps. Starting with cold water helps draw out proteins and flavor gradually, producing a clearer result than starting with hot water.
Bring to a gentle simmer
Heat over medium until the liquid just begins to simmer — small bubbles breaking the surface, not a rolling boil. A full boil agitates the liquid too aggressively and can make stock cloudy. Skim off any gray foam that rises to the top in the first 10 minutes using a ladle or spoon.
Simmer for the appropriate length of time
Vegetable stock is done in 45 minutes to 1 hour — longer and the vegetables can turn bitter. Chicken stock benefits from 2–3 hours. Beef or pork bone stocks develop best over 4–6 hours. There is no need to stir; just maintain a steady, gentle simmer.
Strain, cool, and store
Pour the stock through a fine-mesh strainer into a large bowl or second pot, discarding the solids. Let it cool, then transfer to storage containers. If making bone stock, refrigerate overnight — the fat will solidify on top and can be removed easily with a spoon before freezing or using.
Your finished stock should be lightly golden (vegetable) or amber-brown (meat-based), with a clean savory smell. If it tastes thin, simmer it down further to concentrate flavor. For a deeper look at how stock differs from broth and bone broth, see Stock, Broth, and Bone Broth: What the Labels Actually Mean.
Cool and refrigerate stock promptly
Homemade stock should not sit at room temperature for more than two hours. Cool it quickly by placing the pot in an ice-water bath before transferring to the fridge or freezer. Stock that has been left out too long should be discarded rather than saved.
Storing and Using Your Stock
Let stock cool at room temperature for no more than an hour, then refrigerate or freeze it. In the fridge, stock keeps for up to four days. In the freezer, it keeps well for up to three months. Freeze in portions — ice cube trays for small amounts, or one- and two-cup containers for recipe-sized quantities — so you can thaw only what you need.
Use your scrap stock anywhere a recipe calls for store-bought stock or broth: soups, stews, risottos, braises, pan sauces, and grains cooked in liquid all benefit. It's an easy swap that adds depth without any added cost. If you regularly cook with fats rendered from meat, those pair naturally with scrap-based stocks — see Getting the Most Out of Leftover Cooking Fats for how to handle and store them safely.