

Key Takeaways
- Bacon drippings, chicken fat, and clarified butter can all be strained and reused safely.
- Proper storage containers and labeling are essential to prevent rancidity and food safety issues.
- Most saved cooking fats keep for weeks in the refrigerator or months in the freezer.
- Reusing fats adds depth of flavor that fresh neutral oils simply cannot replicate.
- Discard any fat that smells off, looks discolored, or has been contaminated with water or food debris.
What you will need
Why Saving Cooking Fats Is Worth the Effort
Home cooks who pour bacon drippings down the drain or toss the rendered fat from a roast chicken are leaving real value behind. These fats carry concentrated flavor from the proteins they cooked with, and they behave beautifully in the pan — better, in many cases, than a fresh pour of neutral oil. Reusing them is one of the easiest low-effort habits in budget-conscious cooking.
This practice also fits neatly into a broader zero-waste kitchen mindset. Just as kitchen scraps can become rich homemade stock, fats that would otherwise go to waste can become the foundation of your next great pan sauce, roasted vegetable, or sautéed dish. The key is knowing which fats are worth saving, how to prepare them for storage, and when to let them go.
What you will need
Which Fats Are Worth Saving
Not every fat that comes out of your pan deserves a second life. Here's a quick guide to the most useful ones:
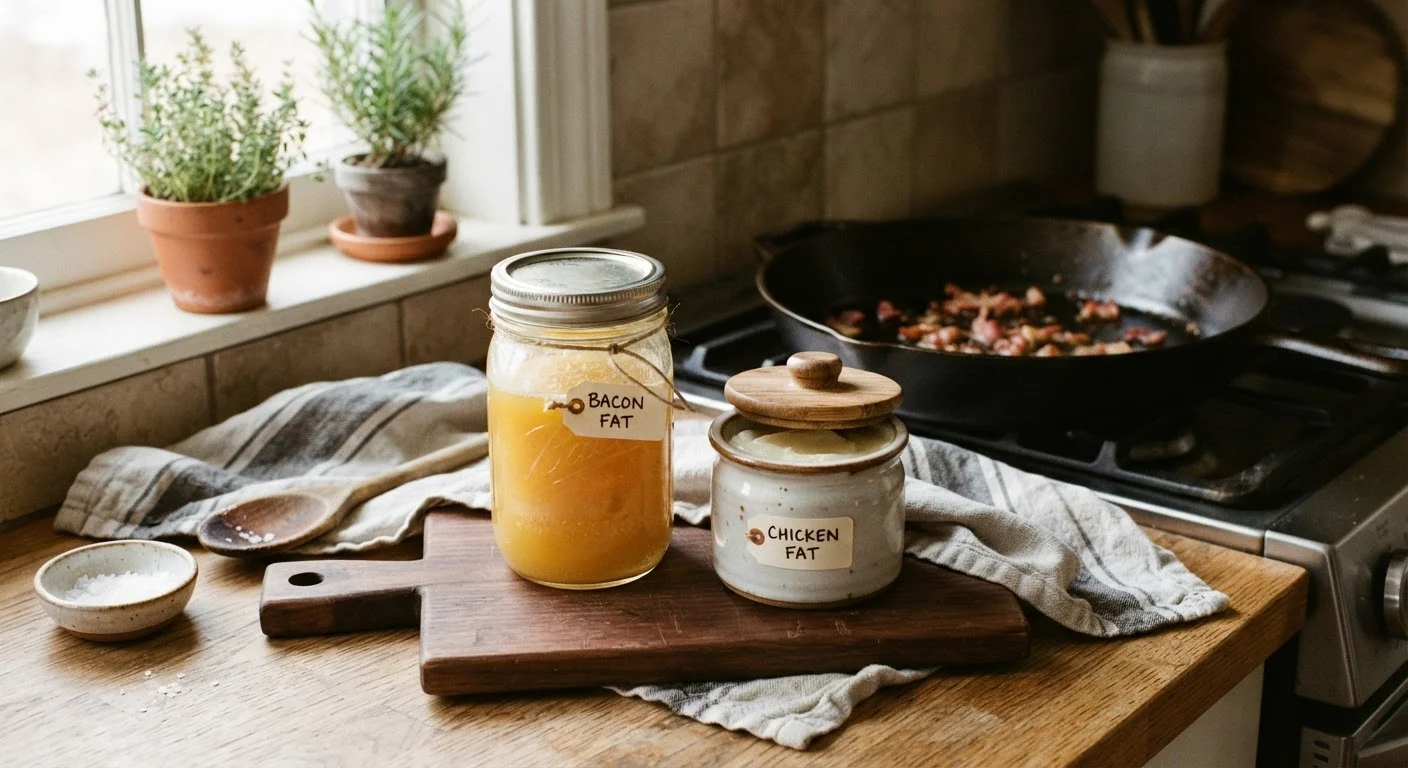
- Bacon drippings: The gold standard of saved fats. Rich, smoky, and deeply savory — excellent for sautéing greens, frying eggs, or seasoning cornbread batter.
- Rendered chicken fat (schmaltz): Skimmed from a roasting pan or made by slowly cooking chicken skin, schmaltz is mild enough for vegetables and savory enough to elevate any sauté.
- Duck or goose fat: Prized in European cooking for roasting potatoes. High smoke point, extraordinary flavor. Worth every drop.
- Clarified butter (ghee): If you've made ghee at home, the strained result stores well and has a higher smoke point than whole butter.
- Used olive oil: Lightly used olive oil from roasting vegetables can be strained and reused once, but monitor for any off smell. Do not reuse oil that has been used at very high heat or that looks dark and foamy.
Fats to avoid saving: highly seasoned or spiced oils, fats mixed with a lot of water or dairy, and any fat that smells rancid or has an off color. These should go in the trash — not the sink, where they can cause drain problems.
Never Pour Hot Fat Down the Drain
Liquid fats solidify as they cool and will clog household pipes over time, sometimes causing costly blockages. Let unwanted fat cool completely in the pan, then scrape it into a sealed container and dispose of it in the trash. Even small amounts poured repeatedly will build up in pipes.
How to Store Saved Fats Safely
The steps below cover the full process — from straining to labeling — so your saved fats stay usable and safe. Following this process consistently also pairs well with other good kitchen habits, like repurposing cooked food into a genuinely good second meal.
Let the Fat Cool Slightly
After cooking bacon, roasting chicken, or finishing a pan-seared dish, remove the pan from heat and allow the fat to cool for 5–10 minutes. You want it liquid enough to pour but not dangerously hot. Never pour boiling-hot fat into a glass jar — the thermal shock can crack it.
Strain Out All Solids
Set a fine-mesh strainer over a clean, heatproof container and pour the fat through it. For very clean fat — especially if you plan to store it for several weeks — line the strainer with a single layer of cheesecloth. Bits of meat, seasoning, or charred particles left in the fat will accelerate spoilage and can introduce unwanted flavors.
Transfer to a Clean Storage Container
Pour the strained fat into a clean, dry glass jar or airtight container. Make sure the container is completely dry — water introduced into stored fat creates conditions for bacterial growth. A wide-mouth jar works well because it's easy to spoon from later.
Label with Fat Type and Date
Write the type of fat and the date it was collected on a piece of tape affixed to the jar. This simple step prevents guesswork and helps you rotate fats in order. In the refrigerator, most rendered animal fats keep for 4–6 weeks. In the freezer, they last 3–6 months without meaningful quality loss.
Check Before Every Use
Before spooning saved fat into a pan, take a quick look and smell. Good stored fat should look pale to golden, smell faintly of its source (bacon, chicken), and have a clean, not stale or sour, scent. Discard any fat that smells rancid, looks gray or brown, shows visible mold, or has an off texture. When in doubt, throw it out — the flavor won't be worth it.
Putting Saved Fats to Work
Once you have a jar of clean, properly stored fat in the fridge, the applications are straightforward. Bacon drippings sauté onions for soups and stews with immediate depth. Schmaltz roasts root vegetables with a richness that olive oil rarely achieves. Duck fat turns plain boiled potatoes into something worth eating on their own.
Even a small amount — a teaspoon spooned into a pan before the eggs go in — makes a noticeable difference. These fats are potent, so you typically use less than you would with a neutral oil. That economy stretches the jar further and keeps flavor concentrated where it matters.
For more ideas on cooking smarter without spending more, the Budget-Friendly Cooking hub covers ingredient strategies, meal planning, and ways to get more from every dollar at the grocery store.
Build a Small Fat Rotation in Your Fridge
Keeping two or three labeled jars of different fats — bacon drippings, schmaltz, and clarified butter — gives you instant flavor options without any extra shopping. Reach for whichever matches the dish: smoky for greens, neutral-savory for vegetables, rich for eggs. It's a small system that pays off every time you cook.