

Key Takeaways
- Squeaks happen when floorboards rub against each other, subfloor, or nail shanks — fixing the root cause matters.
- The right repair method depends on whether you have solid hardwood, engineered wood, or carpet-covered subfloor.
- Screws driven at an angle into joists offer a longer-lasting fix than surface lubricants alone.
- Many squeaky floor repairs require only basic tools and cost very little when done correctly.
- Addressing squeaks early prevents minor movement issues from developing into more significant structural gaps.
Why Floors Squeak in the First Place
A squeak is essentially friction. When a floorboard moves slightly — from foot traffic, humidity changes, or seasonal wood expansion — it rubs against a neighboring board, a nail shank, or the subfloor beneath it. That movement produces the familiar creak most homeowners learn to live with, even though they don't have to.
The most common causes include:
- Loose nails: Nails that once held the board firmly to the joist have backed out slightly, allowing the board to rub up and down over the shank.
- Gaps between subfloor and joist: If the subfloor has pulled away from a joist slightly, every step flexes the board and causes rubbing.
- Board-to-board friction: Boards that have dried out and shrunk may rattle against each other at their edges.
Understanding which situation you're dealing with tells you exactly which fix to use — and keeps you from wasting time on solutions that won't hold.
Best Practices for Lasting Repairs
Surface lubrication is often the first instinct, and while it can quiet a squeak temporarily, it rarely lasts more than a few months. Long-term fixes address the structural reason the boards are moving.
As a general rule, the more direct your access to the subfloor and joists, the more effective your repair will be. Working from below — through an unfinished basement or crawl space — almost always produces better results than working from above through finished flooring.
Avoid over-driving fasteners, which can crack boards or pull through thin engineered veneers. If you're unsure whether a DIY fix is appropriate for your situation, review common DIY mistakes homeowners make before starting.
Quick Actions You Can Take Today
Not every squeak requires disassembly or specialized tools. Several effective actions take under 30 minutes and cost next to nothing.
Working With Different Floor Types
The material underfoot changes which repairs are safe and effective.
Solid Hardwood
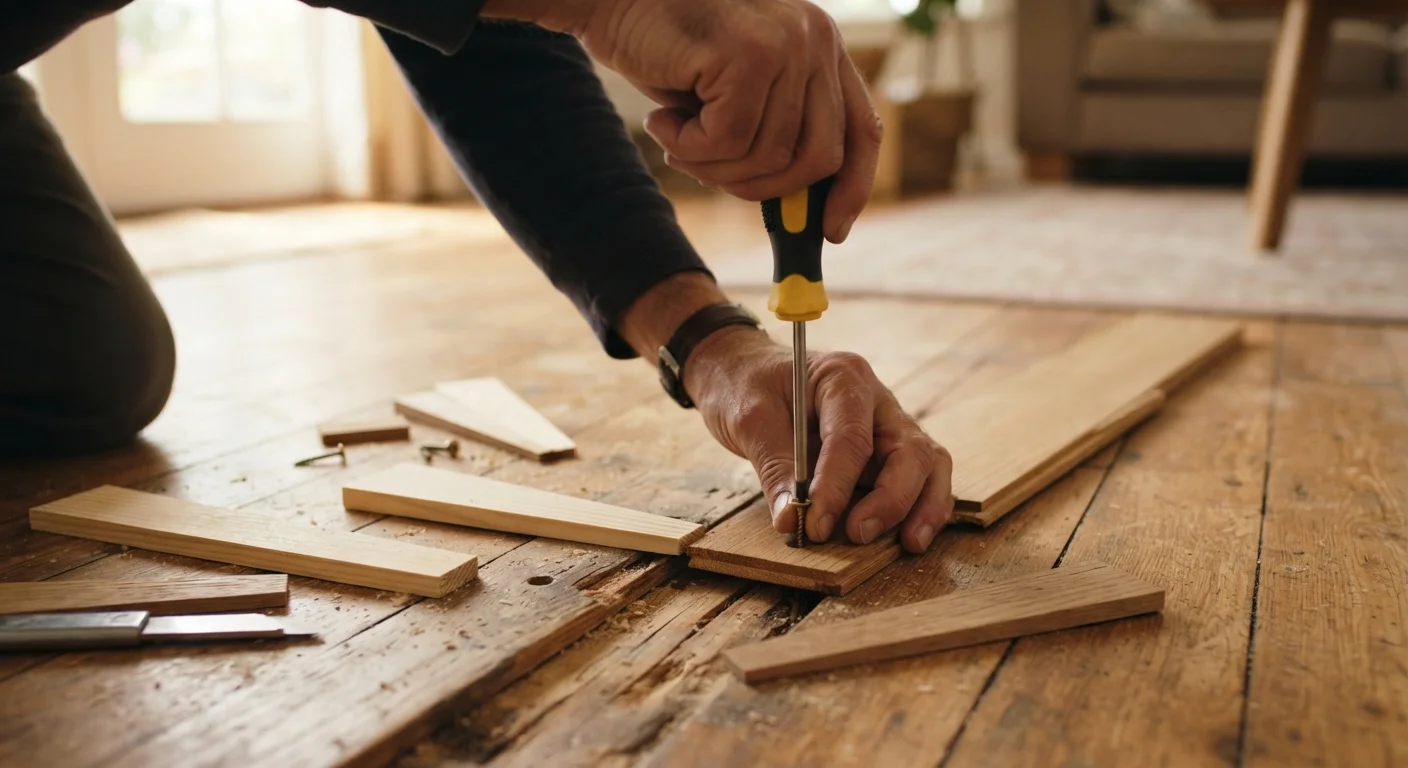
Solid hardwood can accept screws driven through the face into the joist below, provided you countersink and fill the hole with a matching wood plug or filler. These boards also respond well to construction adhesive injected into gaps from below.
Engineered Wood
Engineered boards have a thin real-wood veneer over plywood layers. Driving screws from above risks blowing through the veneer. Favor fixes from below whenever possible, or use specialized breakaway screws designed to snap off flush beneath the surface without splitting the face.
Carpet Over Subfloor
Carpet hides the subfloor but doesn't prevent access. A stud finder and a carpet-friendly screw kit let you drive screws through the carpet backing into joists without pulling up the carpet. The screw head snaps off below the carpet surface, leaving no bump.
When to Call a Professional
If multiple boards across a large area squeak together or you notice visible sagging, bouncing underfoot, or signs of moisture damage, the issue may involve joist damage or structural settling. These conditions go beyond routine DIY repair and typically warrant an inspection by a licensed contractor before any flooring work proceeds.
Whatever the floor type, always locate joists accurately with a stud finder before driving any fastener. Screws that miss the joist and anchor only in subfloor material won't hold long-term and may worsen the problem.